Blender Plugin
Our Blender plugin directly communicates with our service - allowing quick prototyping within your favourite 3D editor.
1. Download plugin
Download the plugin from GitHub; Img2model Plugin Releases
2. Install plugin
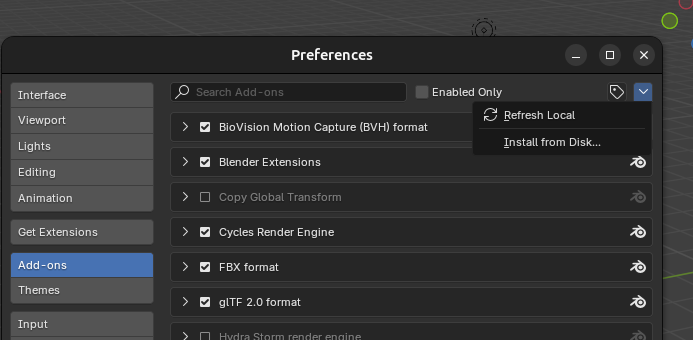 Open Blender. Go to Edit > Preferences. In the left menu, open Add-ons. Select the caret in the right top, and click Install from Disk....
Select the .zip file you have just downloaded.
3. Enable internet access for Blender
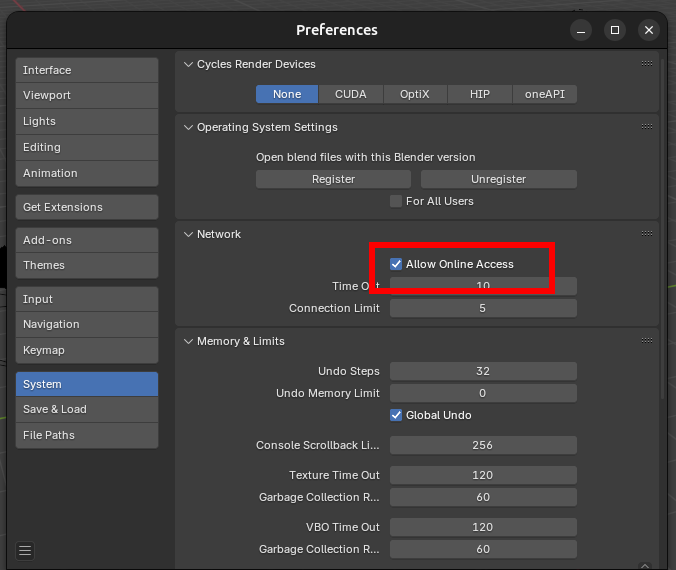 Go to Edit > Preferences. In the left menu, open System. Tick the box Allow Online Access if it's not already enabled.
Close the preferences.
4. Setup an API key
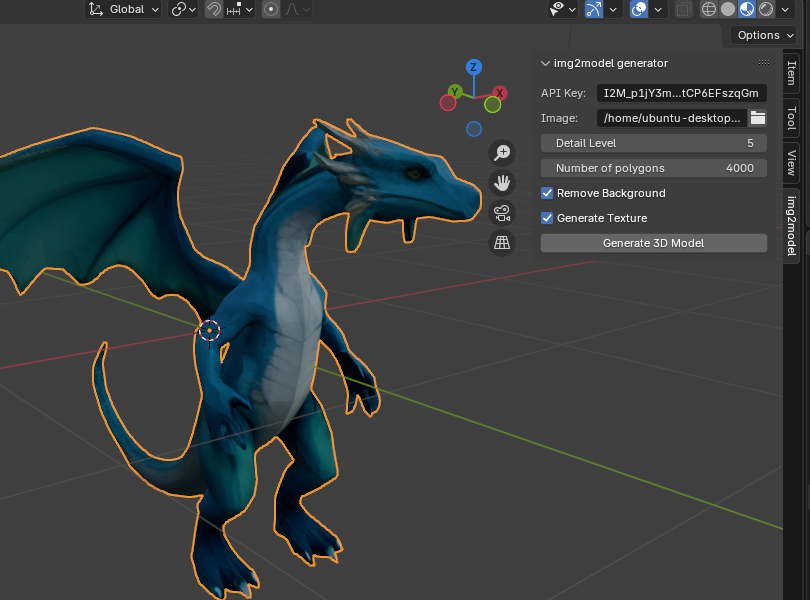
5. Use the plugin
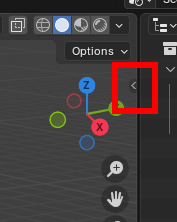
 The plugin should now be visible in your 3D View, on the right. If you don't see the tabs, click the little caret icon.
Select your file, set your options, and press "Generate 3D Model" - you should now see the model being generated and imported into your scene!
6. Questions / issues
Feel free to contact us if you run into any issues. Also be sure to check the Github repository's issue list.